You've gathered all the raw materials for your Christmas planner: binder or notebook, dividers, paper, tools and supplies. Your printer's been humming for a couple of days, printing out planner forms, checklists and articles.
Now it's time to put it all together!
Set Up Your Christmas Planner
Give yourself an hour of uninterrupted time, an empty desk or tabletop, and some motivation in the form of music, coffee or a holiday movie.
To assemble your Christmas planner, start with the bones: the binder (or cardfile, lunchbox or pocket planner!), dividers, pockets and page protectors.
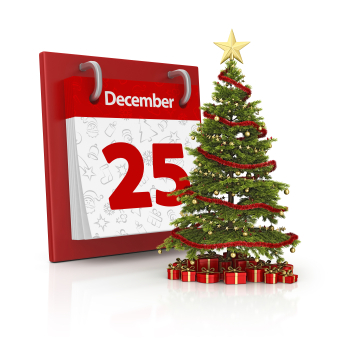
Place dividers into the planner. Most folks will need to put the Calendar divider at the front of the Christmas planner, because holiday calendars will be the most needed, most consulted pages.
Follow Calendars with dividers of your choice: Gift Lists, Christmas Cards, Budgets, Menus and Meals, Recipes, Traditions or any other specialty dividers you've chosen. At the back of the Christmas planner, include page protectors, pocket pages or a punched manila envelope to hold receipts. Other page protectors or pocket pages will hold printed articles, recipes or tearfiles.
File Planner Pages
Once dividers have a home, it's time to punch, sort and settle printable planner pages. Turn to your stash of pre-printed pages, sort them out and give them a home behind the appropriate divider.
Calendars line up behind the Calendars divider, while budget forms and shopping lists head for Budget. Gift lists, gift ideas planners and gift closet inventory forms head for Gift Lists, You'll need several copies of the Christmas Card list behind the Christmas Card divider, while Meals and Menus gets freezer inventory, pantry inventory, and holiday menu planner pages.
Where needed, add blank lined pages for notes or reminders.
Tool Time!
Once the filing is finished, turn to tools. Gather anything you'll need to work you plan, and find a way to keep them close.
Add a punched zipper pouch to the front of the binder to hold pens, pencils, sticky notes, stickers and tabs. In-binder storage options keep tools close at hand as you prepare for the holiday season.
File extra planner pages or blank lined paper in page protectors at the back of the binder. They'll be ready for notes, lists and checklists as you need them.
Cover Story
A final touch: decorate your Christmas planner with a printed cover page, family photos, stickers or pretty patterned paper. Embellish your Christmas planner your way, for a personalized touch.
You're done! Now to get organized for the holiday season!